fbpx

Yogger 101: Getting Familiar with the Yogger Mobile App

Did you just download Yogger? Or you used it once but are unsure of what to do with it? In this post, we put together a guide to navigate through the Yogger mobile App (available for iOS here) and highlight all the features and functionality it has to offer. We’re calling it Yogger 101. These posts will appear on our website AND in our blog feed. at the bottom of the Overview Tab in the mobile app. We will be pushing out more tutorials, tips, and tricks that you can find instantly in the app.

For quick videos and feature highlights, follow us on TikTok, or Instagram, or Facebook. Might as well throw LinkedIn in there too.

In this post we’ll only cover features at a high level, so if you’re looking to do a deep dive into the different components of the app, just follow the links to the subsequent posts in the appropriate sections below! Our hope is to break all of our features down so our user’s have a guide on how to use them, but we also hope you can get some inspiration into what possible use cases are and how to interpret the data into meaningful pieces of information.

So here we go! First let’s take a look at the main dashboard and more specifically, the tab bar.

Getting Familiar with the Yogger Mobile App

Now if you may, direct your attention to the bottom tab bar. It’s a pretty typical tab bar, nothing special really.

But what about that big green button?

Well hold on now, we’ll get there.

First the tab bar lays out all of Yogger’s main features

  1. Overview
  2. Reports
  3. Movement Analysis + Assessments
  4. Progress
  5. Profile

We’ll get to the each tab individually, but first let’s get into the green button.

It’s obnoxiously large…

Let’s get into the obnoxiously large green button then.

Movement Analysis and Assessments

This button acts as the main vessel for you to do any sort of motion analysis with Yogger. Right away you’ll notice two options:

Analyze Movement and Perform Assessments.

Both options use the camera, so make sure to allow access to your camera. At a higher level, the difference lies in the automation. The analyze movement mode gives you flexibility to record anything while the assessments automate routine movement assessments and output specific data.

You can use Analyze Movement mode in a variety of ways from sports, to performance training to healthcare.

The Perform Assessment mode is fantastic for healthcare or fitness to get information on how your clients (or yourself) performs basic movements.

Now let’s look at each in a little more depth.

Analyze Movement

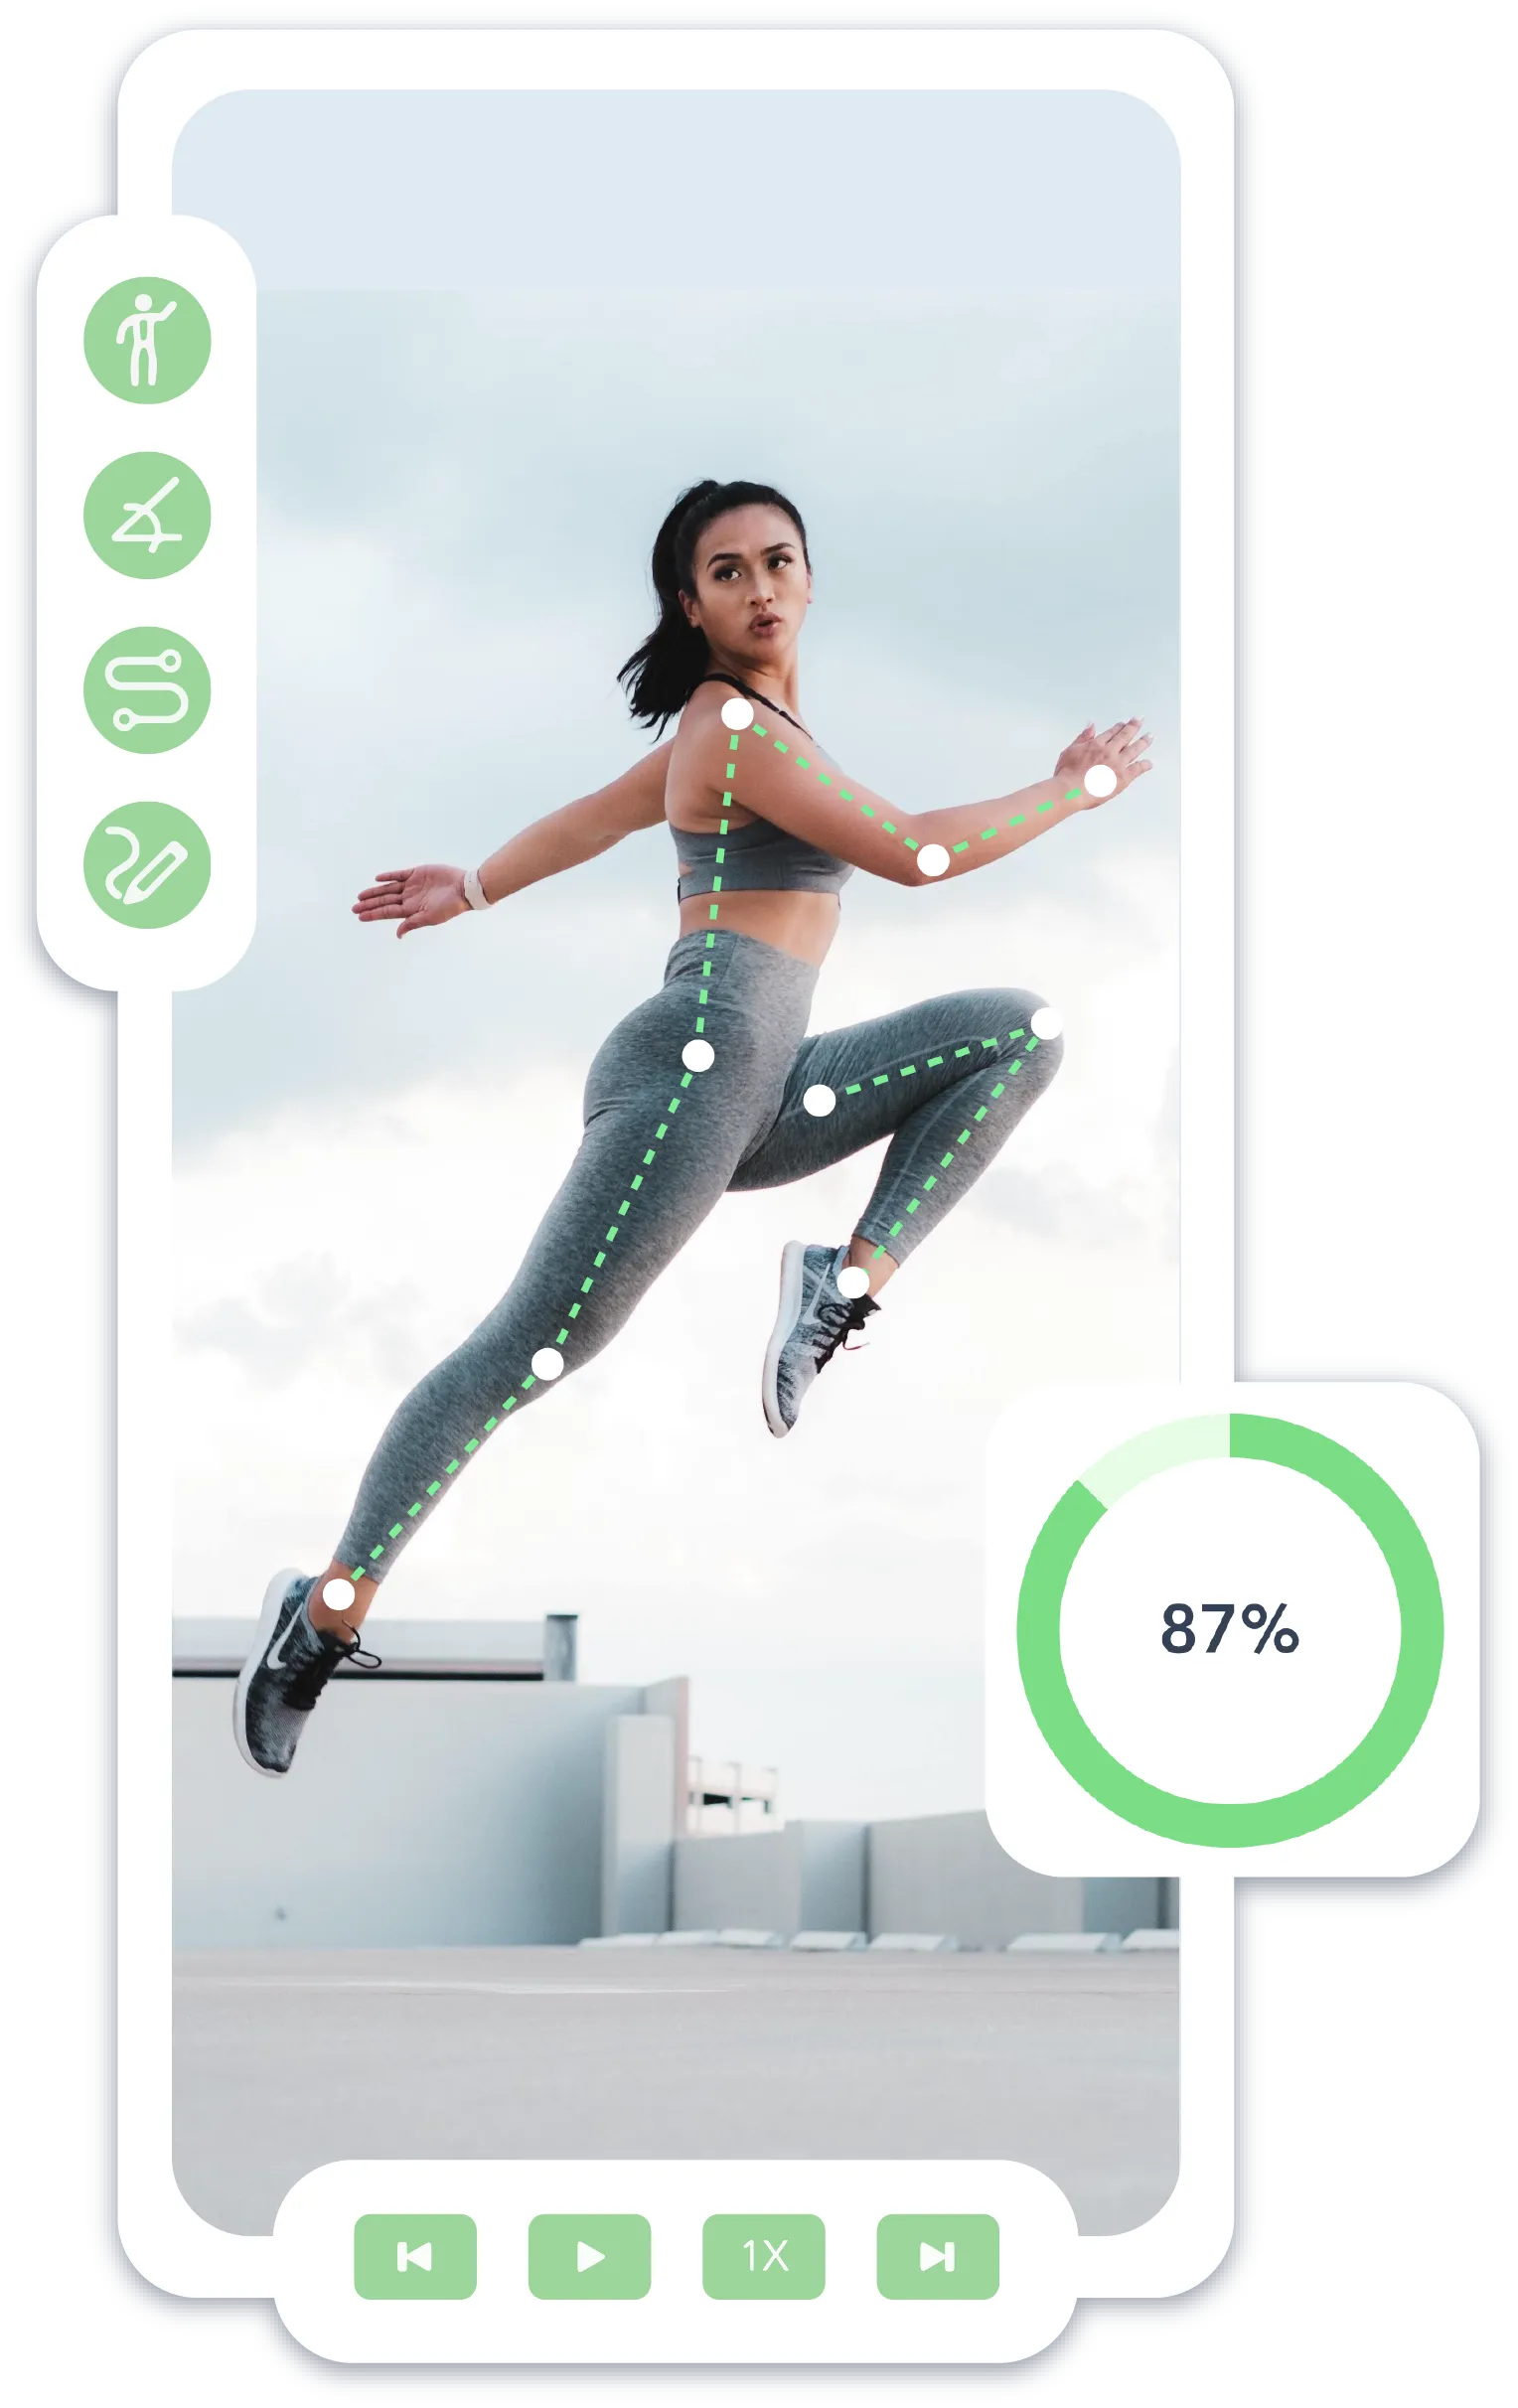
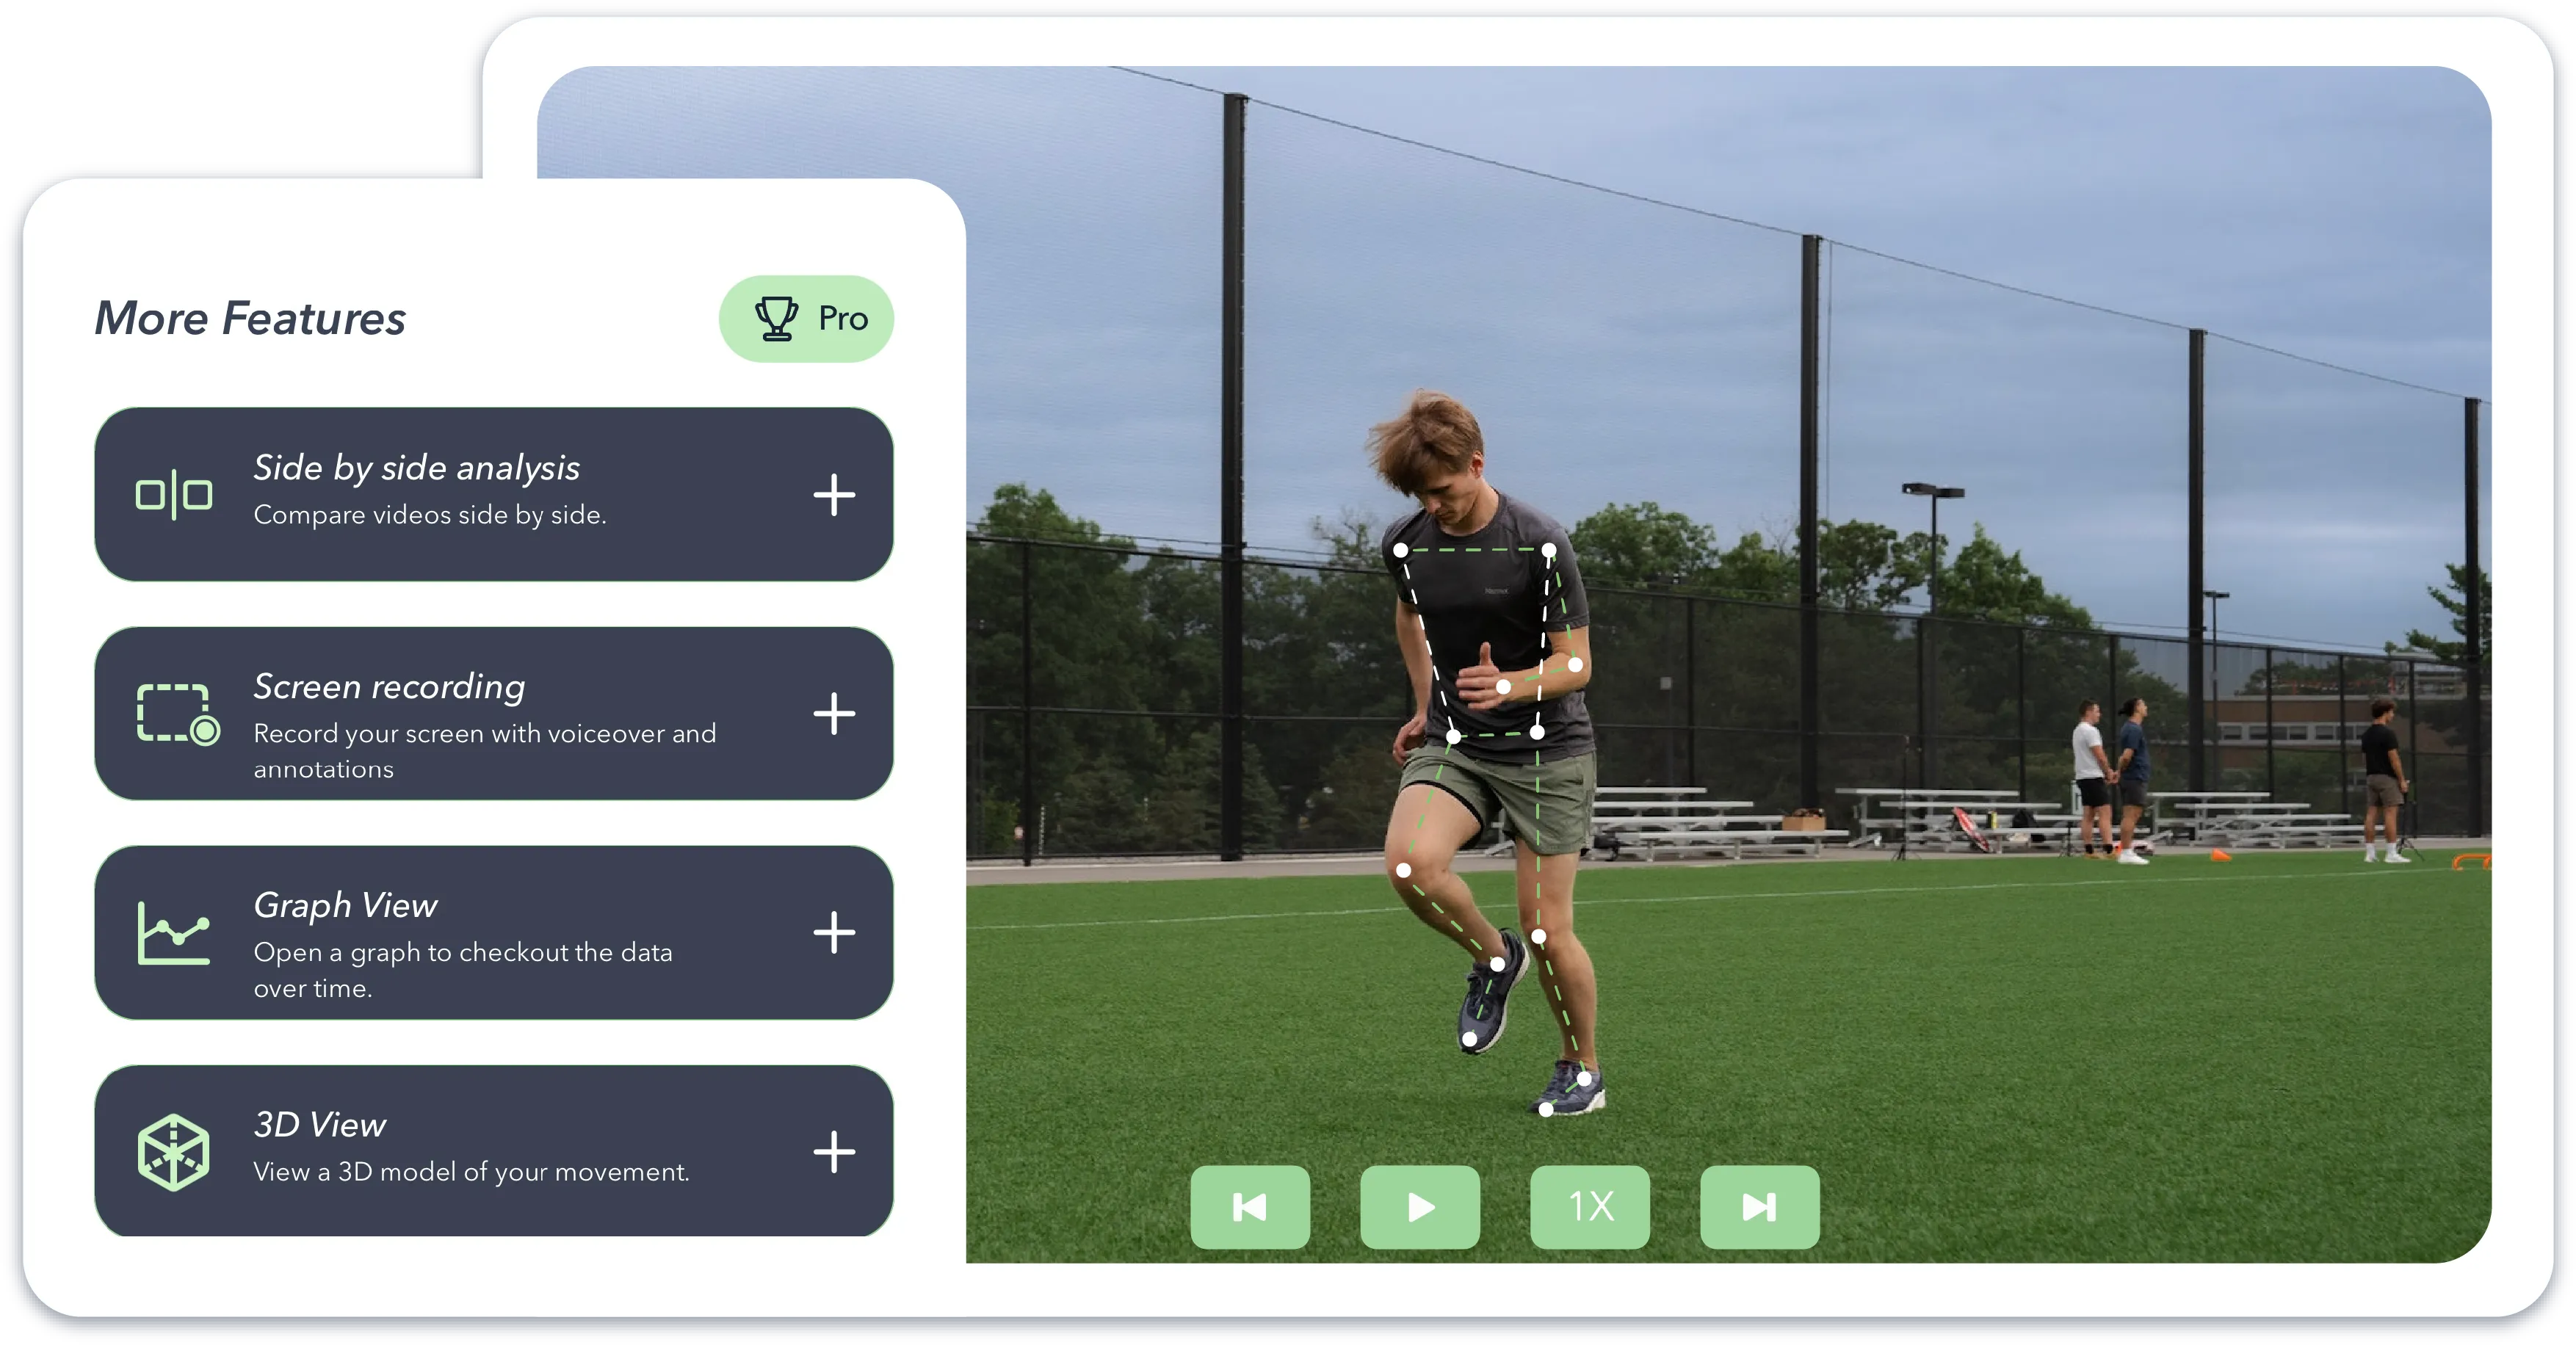
Think of this as a ‘free form’ of analysis. Again, this mode is meant for users to utilize motion analysis for sports, fitness, or health in a way that’s flexible and multi-faceted. So you can use this as a baseball coach to track differences in biomechanics of a baseball swing between reps. Or as an individual track athlete looking at your takeoff for the high jump. Use it on yourself to perfect your Tik Tok dance moves, I don’t care. Anything is on the table with this mode, and it can be extremely beneficial for coaching or self critique.

The flow to analyze a movement is essentially,

Upload or record a video -> Play through the video -> analyze your movement

There are two main avenues of how you can save media and data through this mode.

HOW TO SAVE VIDOES AND IMAGES

1) Video Logs

The first way is through saving Video Logs. It’s pretty self explanatory, but here’s what video logs boil down to. Think of a diary of video’s that belong to a certain custom category. You can save video’s with all your biomechanical data, comment on them, and track your progress of whatever information you need over the course of days, months or even years (!?). Video Logs are one of the biggest features of using Yogger in a way that is flexible for your needs.

You can check out more how to use Video Logs and everything from recording to tracking progress in a continuation of the Yogger 101 Blog series, here.

2) Snapshots

The second method to store and analyze data with images is through our snapshots. Snapshots are still frame images of any pose of interest. For example, want to track the depth on the bottom of your squat overtime?

With snapshots you can capture still images and any joint angle in fell swoop. You can compare from categories and take a look back from your progress tab. For more information on how to best utilize Snapshots, check out this post.

If you happen to be illiterate but somehow made it this far, or are just bored easily maybe these videos for Video Logs and Snapshots are for you.

Perform Assessment

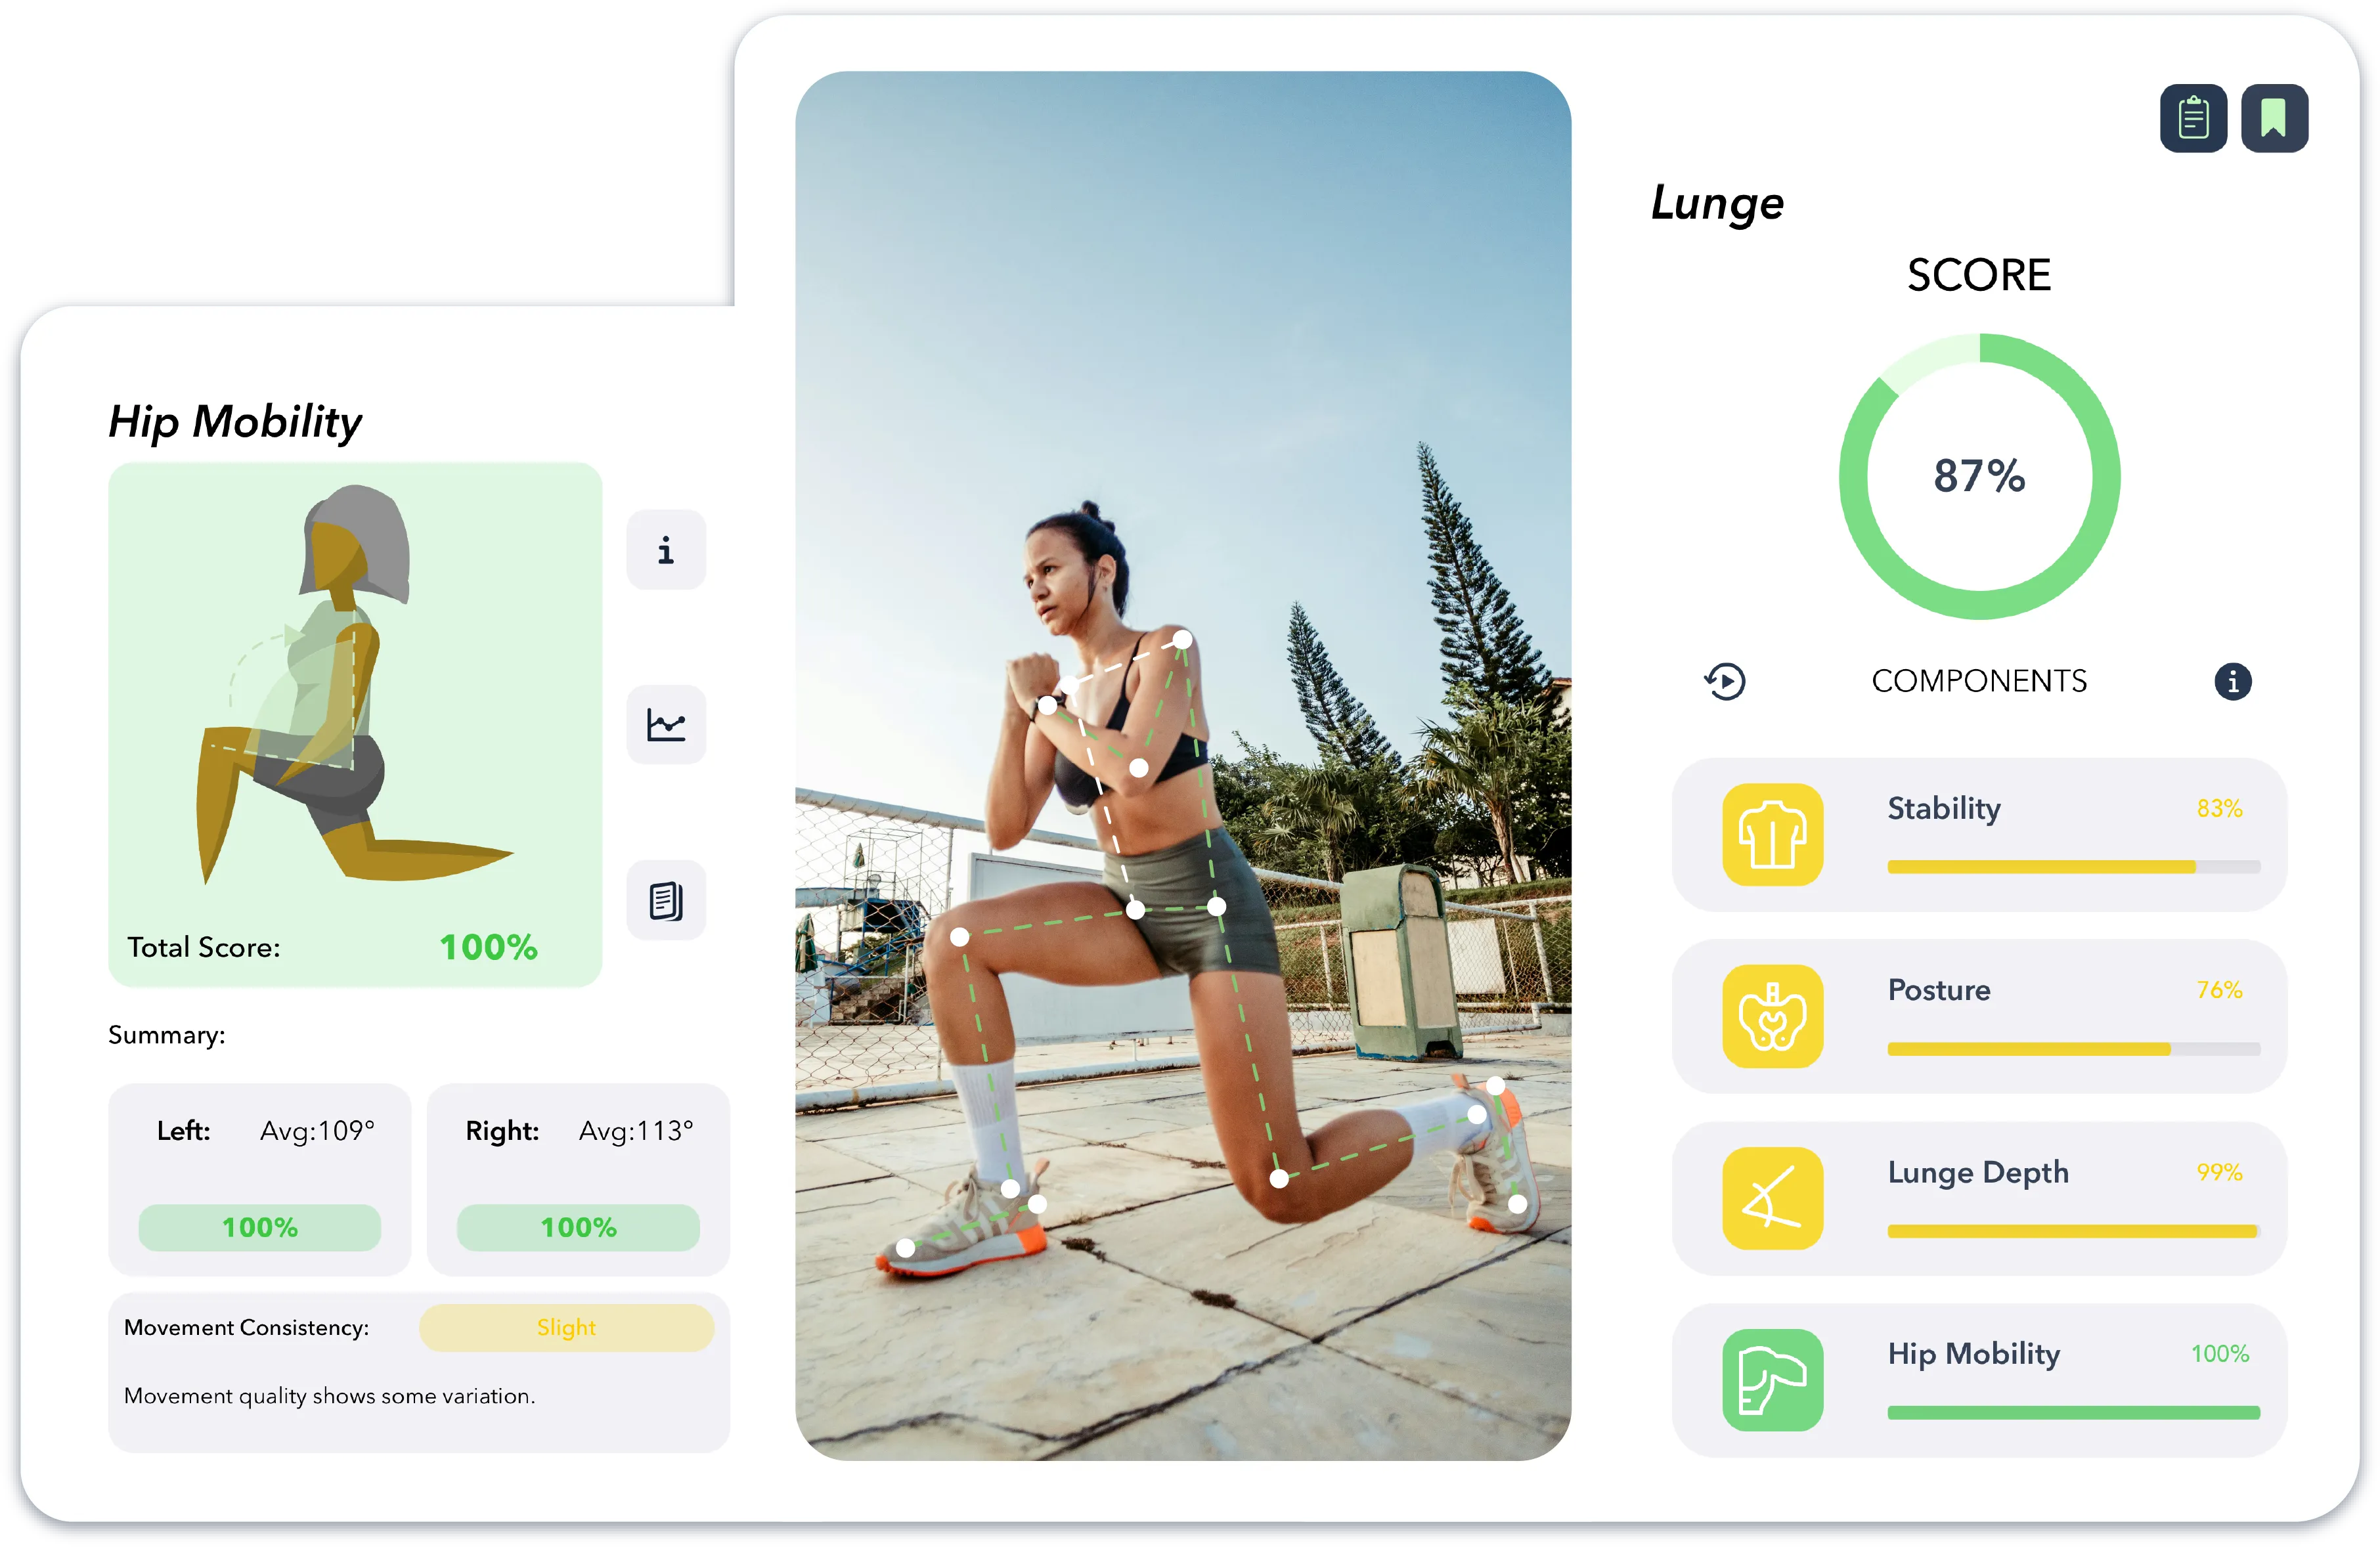
And now onto the assessments. This mode is for you to use the motion analysis to track your form during a series of pre-determined movement assessments. We chose the specific movement assessments carefully, so the analysis is limited to the specific assessment. But this also allows the output of the assessment to be much more specific and rich in providing meaningful data and then giving you the tools to interpret that data into applicable information. These assessments can be used as a virtual pre-screening tool, as a benchmark assessment during training or rehab, or as a way to maintain all the progress you made post rehab. They can be recorded by clients themselves in the comfort of their own homes, or by a coach or provider in person.

And those are the two main methods of capturing data! That is the essence of the big green button.

…It’s still sort of obnoxious

That’s also the point. It’s the main feature. Now onto the Overview Tab… do you have a problem with a house icon?

I’m not triggered by houses, no. I had a loving, supportive household growing up.

Good to hear!

Overview

Overview – The main screen, or home menu. This is the default tab that you navigate to when you launch the app. Nothing too crazy here!

A few things you may notice. First, up top.

A little swively thing. This is where we’ll have a little info on updates, new features, so keep an eye out for updates.

Then you’ll notice a little profile section of the tab. You can upload an image of yourself here, in case you forgot what you look like.

If hypothetically you photoshopped your face onto an old image of Brad Pitt, can we put that here?

Yeah I guess so, I mean, good thing it’s all hypothetical, and you’re just an imaginary alter ego, right?

I may or may not have spent more than 20 minutes of my time photoshopping it.

Uhhh hypothetical, alter ego, imaginary time… right?

gif

What else is going on in the overview? A calendar that tracks activity, and then also blog posts at the bottom that can help you use navigate through how to use Yogger, or get the newest tips and tricks and applications of the technology.

Reports

Now onto reports

Like progress reports?

Ehh kind of? But not in the school way, in a more professional way. Don’t worry there’s no grades. Except the assessments, they have grades.

So you can send my grade directly to my parents to put on my fridge?

Yes, exactly. The reports section is the main way to export data. You can put all of the data and images and assessments that you’ve saved from Progress and put them nicely into a PDF form that you can export. Not just the images and data, but you can write extra notes, use dictation organize it anyway you see fit. It’s all automatic too.

More info on how to go through the reports and add images, videos and all the data can be seen here.

Progress

We’ve covered how to record and analyze everything up until now. The progress tab is where you can check out all of your saved data.

Right at the top is where you’ll notice how you can select between video logs, snapshots, and assessments. Going through the data and everything will be covered in the individual component blog posts. So again check those out.

Video Logs, Snapshots, and Assessments

Profile

Last but not least is the profile tab. If you’re on the free version, you’ll see an option to upgrade. Unsure of which version is right for you? Checkout this post on determining which version is right for you.

Well this is sorta neat. How do I tell my friends or loving supportive family about it?

Great question! If you’re on the free or individual plan, you can score a free month of Yogger Pro by sending an invitation code to a friend. If that friend uses the code to get their free month, you too will receive one back!

Wait I have more questions!

Well good thing we have a FAQ.

I think you need to change the big green button.

Well then the suggest improvement button is for you.

I suppose you’re also concerned about how your data is used?

Actually I’m not.

Well here’s our Privacy Policy and Terms of Use anyways.

And that’s it! As always be on the lookout for new features and updates. You can keep track of those by staying up to date with our blog.

Happy Yogging!

Leave a Reply

%d bloggers like this: